Vaadin Tutorial for Beginners With a Form and Grid in Java
Build a first Vaadin Flow application with a form, a grid and a button, entirely in Java, then run it and see how the server-side model works.
Vaadin Flow lets you build a web interface without writing HTML, CSS or JavaScript. You write Java classes, add component objects to layouts, and attach listeners as lambdas. The browser is a thin client that renders what the server tells it to. This tutorial builds a small contacts screen with a form and a grid, runs it, and then explains what happened on the wire, because that explanation is what stops the model from feeling like magic. It uses Vaadin 25 on Spring Boot 4 and JDK 25.
Create the project
The quickest start is the generator at start.vaadin.com, which downloads a Maven project. From a terminal you can also use the Spring Initializr and add the vaadin dependency. A minimal pom.xml needs the Spring Boot parent, the Vaadin BOM and one starter:
<dependencyManagement>
  <dependencies>
    <dependency>
      <groupId>com.vaadin</groupId>
      <artifactId>vaadin-bom</artifactId>
      <version>${vaadin.version}</version>
      <type>pom</type>
      <scope>import</scope>
    </dependency>
  </dependencies>
</dependencyManagement>

<dependencies>
  <dependency>
    <groupId>com.vaadin</groupId>
    <artifactId>vaadin-spring-boot-starter</artifactId>
  </dependency>
</dependencies>
The first build downloads a Node.js toolchain and the frontend dependencies, so it takes a few minutes. Later builds reuse the cache. Details of the Spring Boot integration are in Vaadin with Spring Boot.
A model and a view
The model is a plain class. A record is enough, as long as the grid reads its accessors.
public record Contact(String name, String email) {}The view is a class with @Route. The route value is the URL path, and an empty string means the root.
@Route("")
public class ContactView extends VerticalLayout {

    private final List<Contact> contacts = new ArrayList<>();
    private final Grid<Contact> grid = new Grid<>(Contact.class, false);

    public ContactView() {
        var name = new TextField("Name");
        var email = new EmailField("Email");
        var add = new Button("Add contact");

        grid.addColumn(Contact::name).setHeader("Name");
        grid.addColumn(Contact::email).setHeader("Email");

        add.addClickListener(click -> {
            if (name.isEmpty()) {
                name.setInvalid(true);
                name.setErrorMessage("Name is required");
                return;
            }
            contacts.add(new Contact(name.getValue(), email.getValue()));
            grid.setItems(contacts);
            name.clear();
            email.clear();
        });

        add(new H1("Contacts"), new HorizontalLayout(name, email, add), grid);
    }
}
Read it top to bottom. Grid<>(Contact.class, false) builds a grid and passes false so it does not create a column for every getter. Each addColumn takes a method reference that extracts the cell value. The click listener is an ordinary lambda: it validates, updates a list, tells the grid about the new list and clears the fields. The last line adds the heading, a row of inputs and the grid to the vertical layout.
There is no template, no controller and no JSON. The class is the screen.
Run it
./mvnw spring-boot:runOpen http://localhost:8080. Fill in a name, click the button, and a row appears. In development mode, Vaadin watches the sources and reloads the browser when a class changes, so the loop is edit, save, look. Leave the production bundle for deployment: the -Pproduction profile compiles and minifies the frontend, and is covered in the production build.
What just happened
Open the browser's network tab and add a contact. You will see a small request to the server, not a page load. This is the part worth understanding.
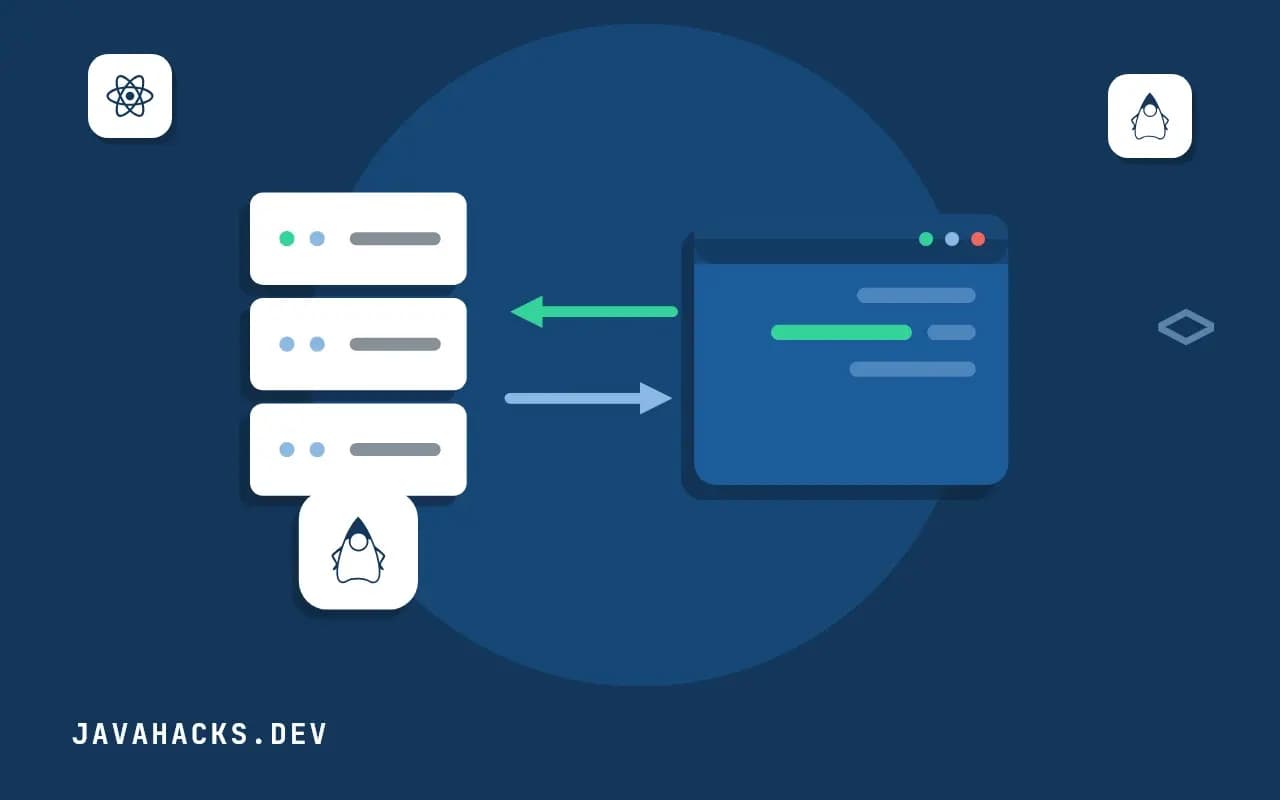
When the page loaded, the server created a ContactView instance and kept it in memory, attached to your session. The browser received a description of the component tree, and web components in the browser rendered it. When you clicked the button, the browser sent one request that meant, in effect, "the component with this id was clicked, and the name field now has this value". The server found your ContactView, called the lambda, and the lambda changed the server-side objects. Vaadin compared the tree to its previous state, and sent back only the difference: a new row for the grid and empty values for the two fields.
That has consequences you should know from the start. The state lives on the server, so memory grows with users, as discussed in the server-side model. Code in a listener can call a database or a service directly, with no REST API between the screen and the data. Anything that must stay private, such as an access check, belongs in Java, because the client never sees the code. And a user on a slow connection feels each click as a round trip, so keep listeners fast.
Two things that confuse beginners
The first is that the view is created per navigation, not once per application. Each browser tab that opens the route gets its own ContactView, and a field such as contacts belongs to that instance. Open the page in two tabs and each tab shows its own list. State shared between users has to live in a Spring bean, which is why the repository step below matters.
The second is that building components in the constructor is fine for a tutorial and gets heavy later. A view with a hundred components is built on every navigation. Move expensive setup into onAttach, or create sub-views as separate classes that you add only when needed. The debugger is helpful here: put a breakpoint inside the click listener and watch it hit on the server when you click in the browser, which makes the round trip concrete.
Improving the screen
Three changes turn this into something closer to a real application.
First, bind the form to a bean instead of reading fields by hand. The Binder class connects fields to properties, runs validators and writes valid values into the bean in one call, as shown in forms with Binder. It replaces the manual isEmpty check above and gives each field its own error message.
Second, replace the in-memory list with a Spring Data repository and a lazy grid. grid.setItems(query -> ...) fetches only the visible rows from the database, which matters at ten thousand rows, as in lazy loading grids.
Third, give the application more than one screen. Each class with @Route is a page, and a @Layout class supplies the menu and header around them. The routing and layout rules are in routing and layouts.
Where the tutorial stops
This is a single user, a single view and no persistence, so it hides the difficult parts: authentication, concurrency between users, and deployment behind a load balancer that needs sticky sessions. It also does not show when Vaadin is the wrong choice. An application aimed at the public internet with SEO needs or thousands of anonymous visitors is better served by a template engine or a static frontend. An internal tool with forms, grids and charts, written by a Java team, is where Vaadin earns its keep. For a wider survey of the framework, see the Vaadin guide.
The component catalogue is in the Vaadin components documentation, and the framework reference, including routing and the server-side model, is in the Flow documentation.